- Row VS Column in Excel – What is the Difference?
- What is a row in Excel?
- What is a column in Excel?
- What is a cell in Excel?
- Conclusion
- Working with rows, columns, and cells
- Cell addresses
- Cell ranges
- Manipulating rows and columns
- Manipulating cells
- Explore the 5 must-learn ‘fundamentals’ of Excel
- Columns and Rows To Create Cell in Microsoft Excel
- Columns in Microsoft Excel
- Rows in Microsoft Excel
- The cell is a Combination of Columns and Rows in Excel
- Insert New Column to the Left in Microsoft Excel
- Add New Row to the Top in Microsoft Excel
- Delete Existing Rows and Columns in MS Excel
Row VS Column in Excel – What is the Difference?
Microsoft Excel displays data in tabular format. This means that information is arranged in a table consisting of rows and columns.
Rows and columns are different properties that together make up a table.
These are the two most important features of Excel that allow users to store and manipulate their data.
Below we’ll discuss the definitions of a row and a column, along with the differences between these two features.
What is a row in Excel?
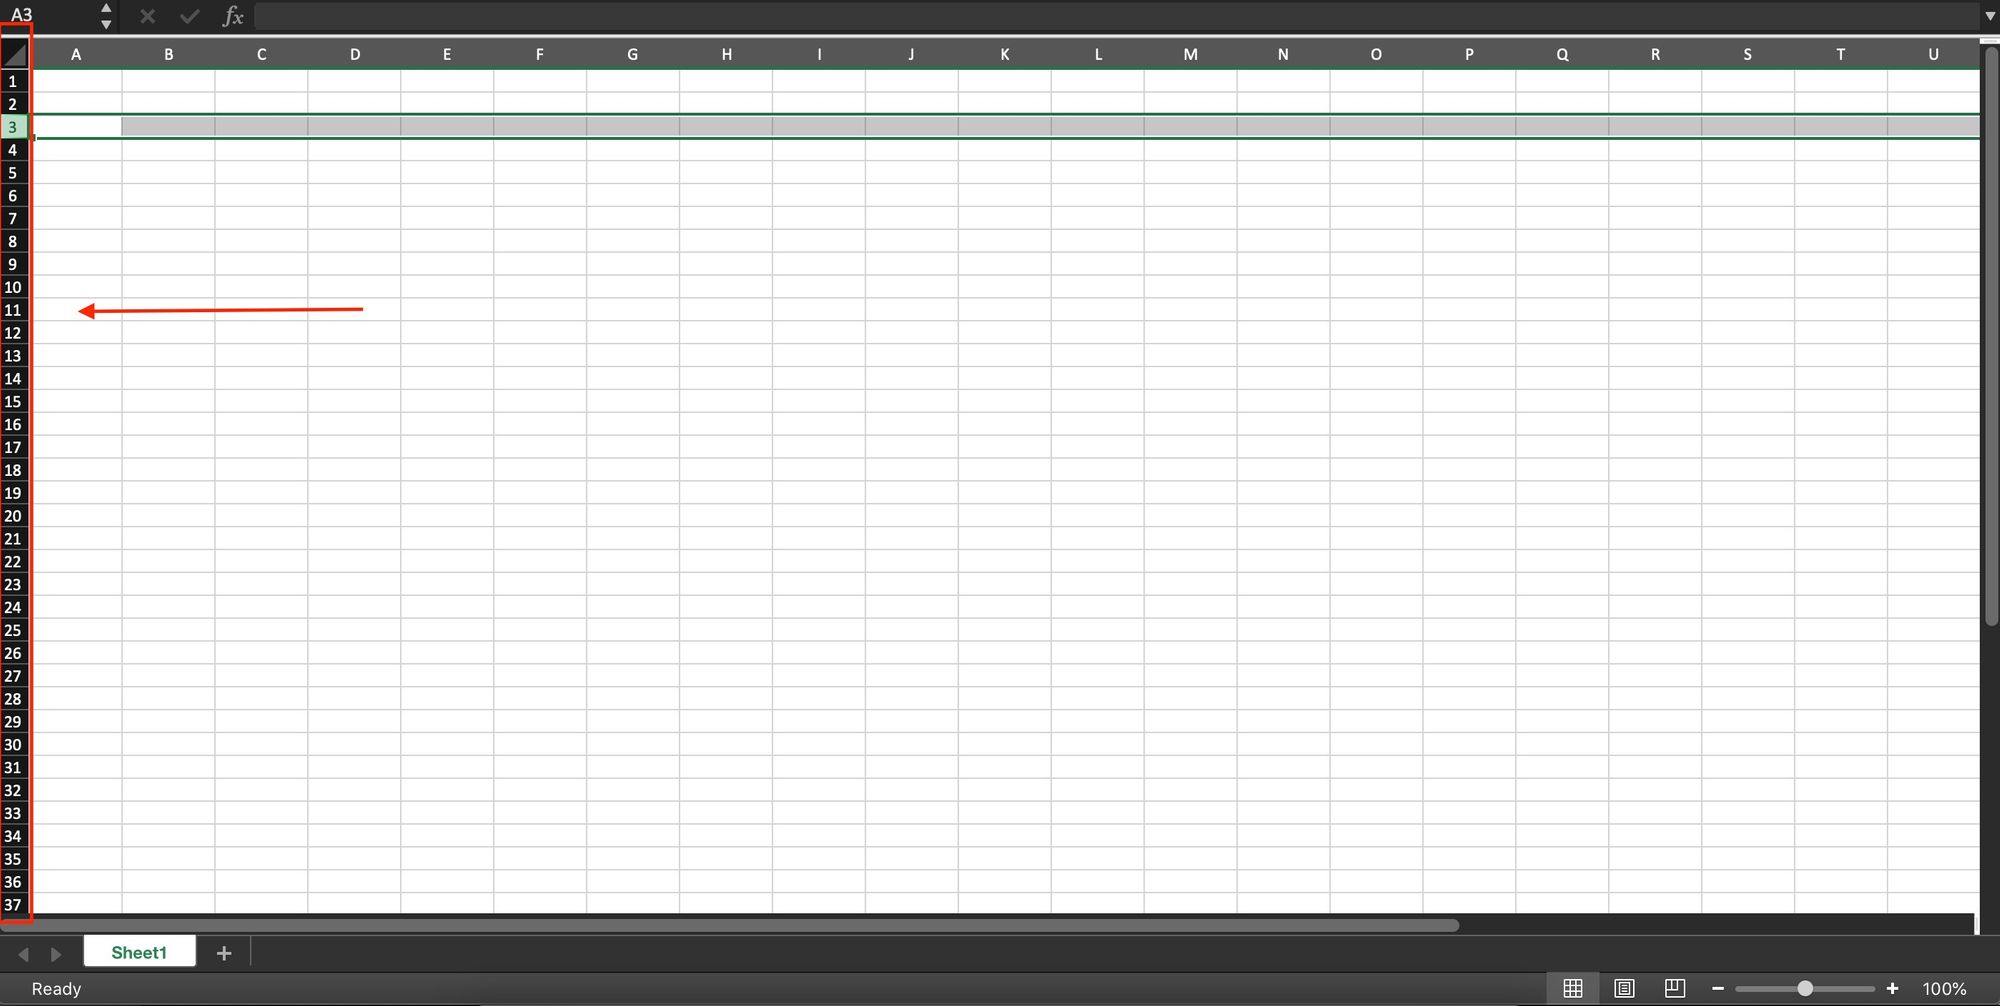
Each row is denoted and identified by a unique numeric value that you’ll see on the left hand side.
The row numbers are arranged vertically on the worksheet, ranging from 1-1,048,576 (you can have a total of 1,048,576 rows in Excel).
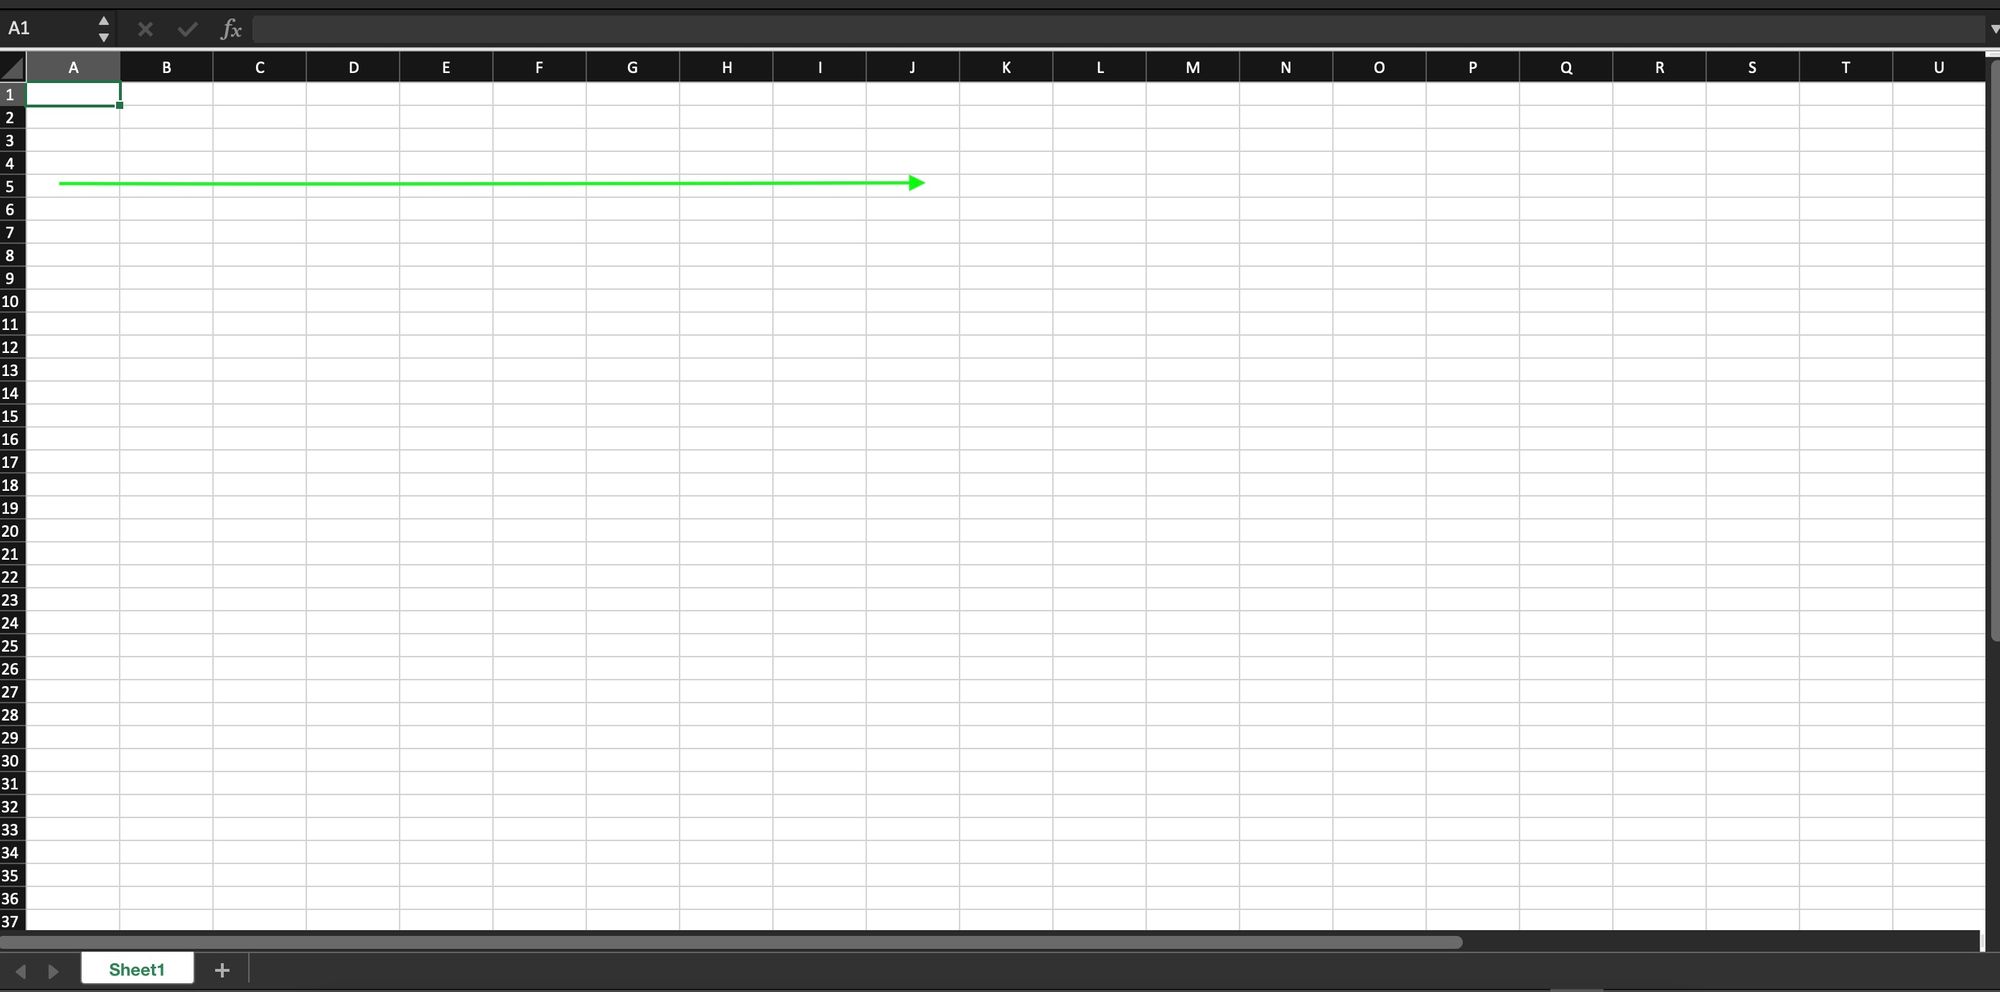
The rows themselves run horizontally on a worksheet.
Data is placed horizontally in the table, and goes across from left to right.
Row 1 is the first row in Excel.
As you can see in the example below, you can select the whole row with the number 3 by clicking on the number itself.
To navigate through the numbers and reach the last row, you can use:
- For Windows Users: Control down navigation arrow . You first press the Control key and then, while holding it down, press the down navigation arrow.
- For Mac Users: Command down navigation arrow . You first press the Command key and then, while holding it down, press the down navigation arrow.
To get back to the first row (the top) again, press Control up navigation arrow for Windows and Command up navigation arrow for Mac.
What is a column in Excel?
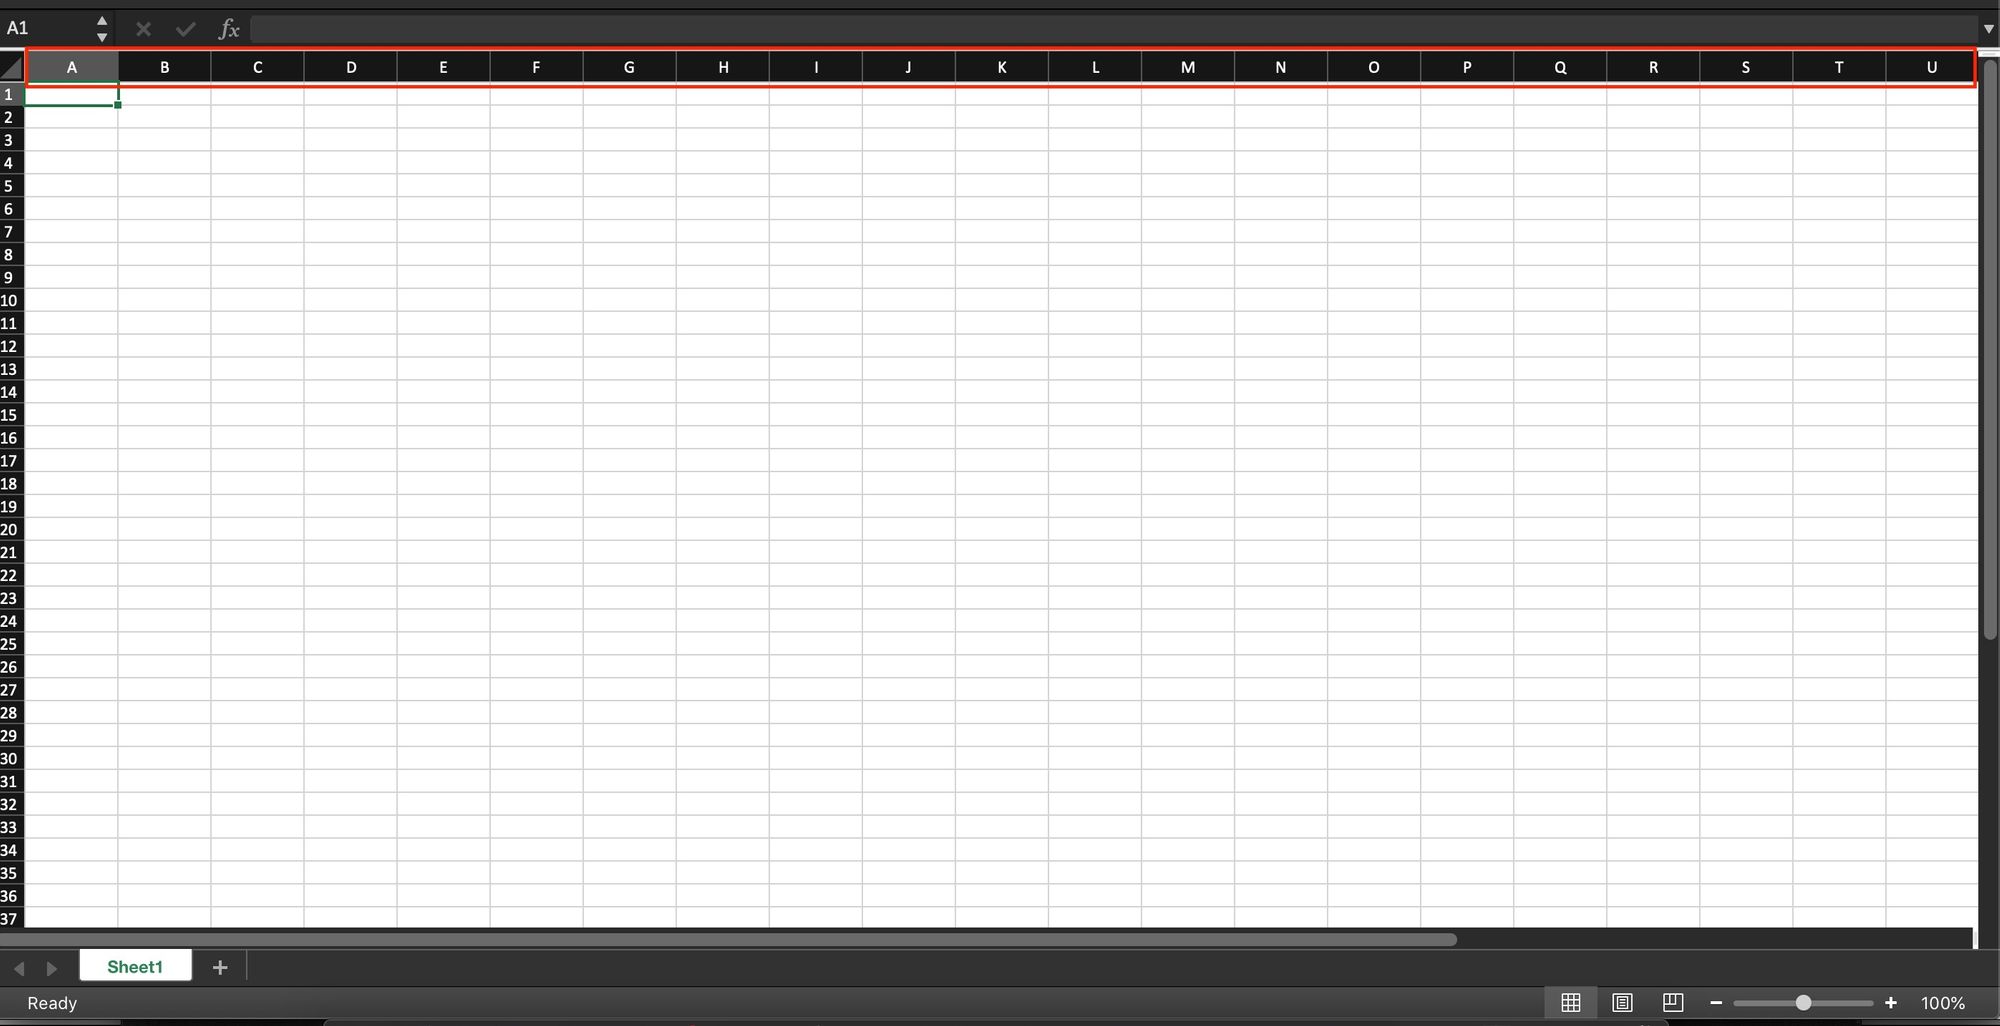
Columns are denoted and identified by a unique alphabetical header letter, which is located at the top of the worksheet.
Column headers range from A-XFD, as Excel spreadsheets can have 16,384 columns in total.
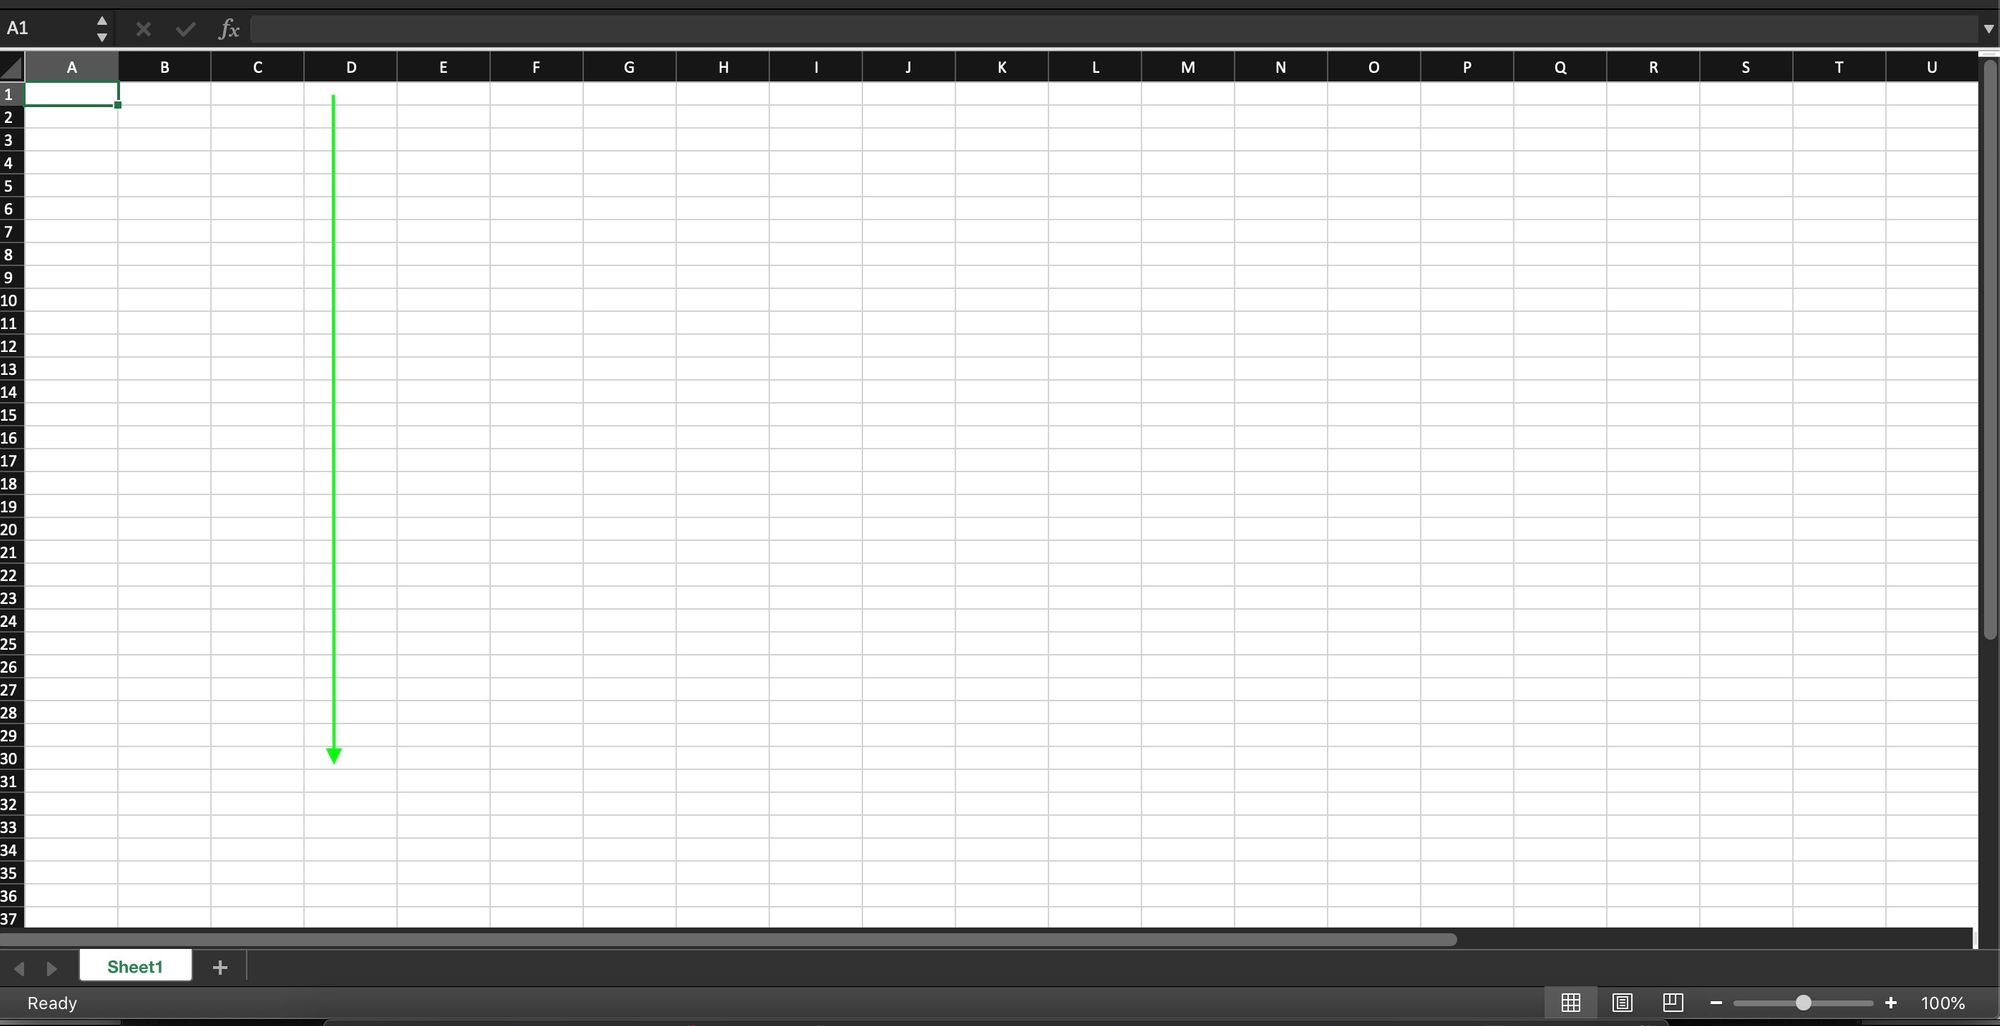
Columns run vertically in the worksheet, and the data goes from up to down.
Column A is the first column in Excel.
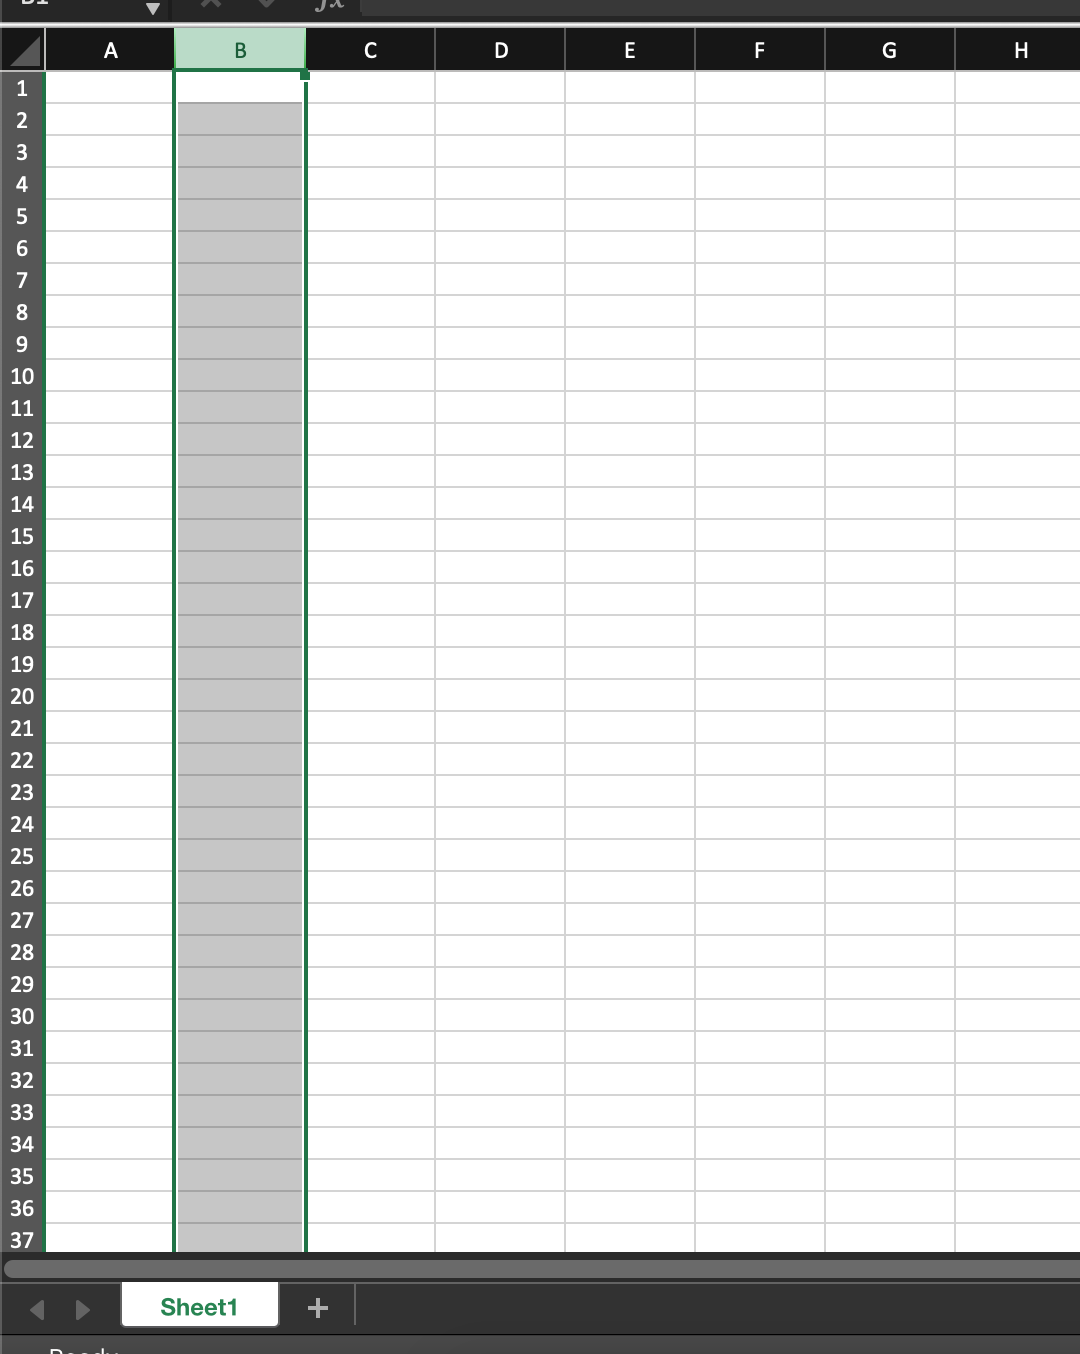
In the example below, you can see that the whole column with header B is selected by pressing/clicking on the letter at the top.
To move to the last column:
- For Windows Users: Control right navigation arrow . First press the Control key and then, while holding it down, press the right navigation arrow.
- For Mac Users: Command right navigation arrow . First press the Command key and then, while holding it down, press the right navigation arrow.
To get back to the first column again, press Control left navigation arrow for Windows and Command left navigation arrow for Mac.
What is a cell in Excel?
A cell is the intersection of a row and a column. A row and a column adjoined make up a cell.
You can define a cell by the combination of a row number and a column header.
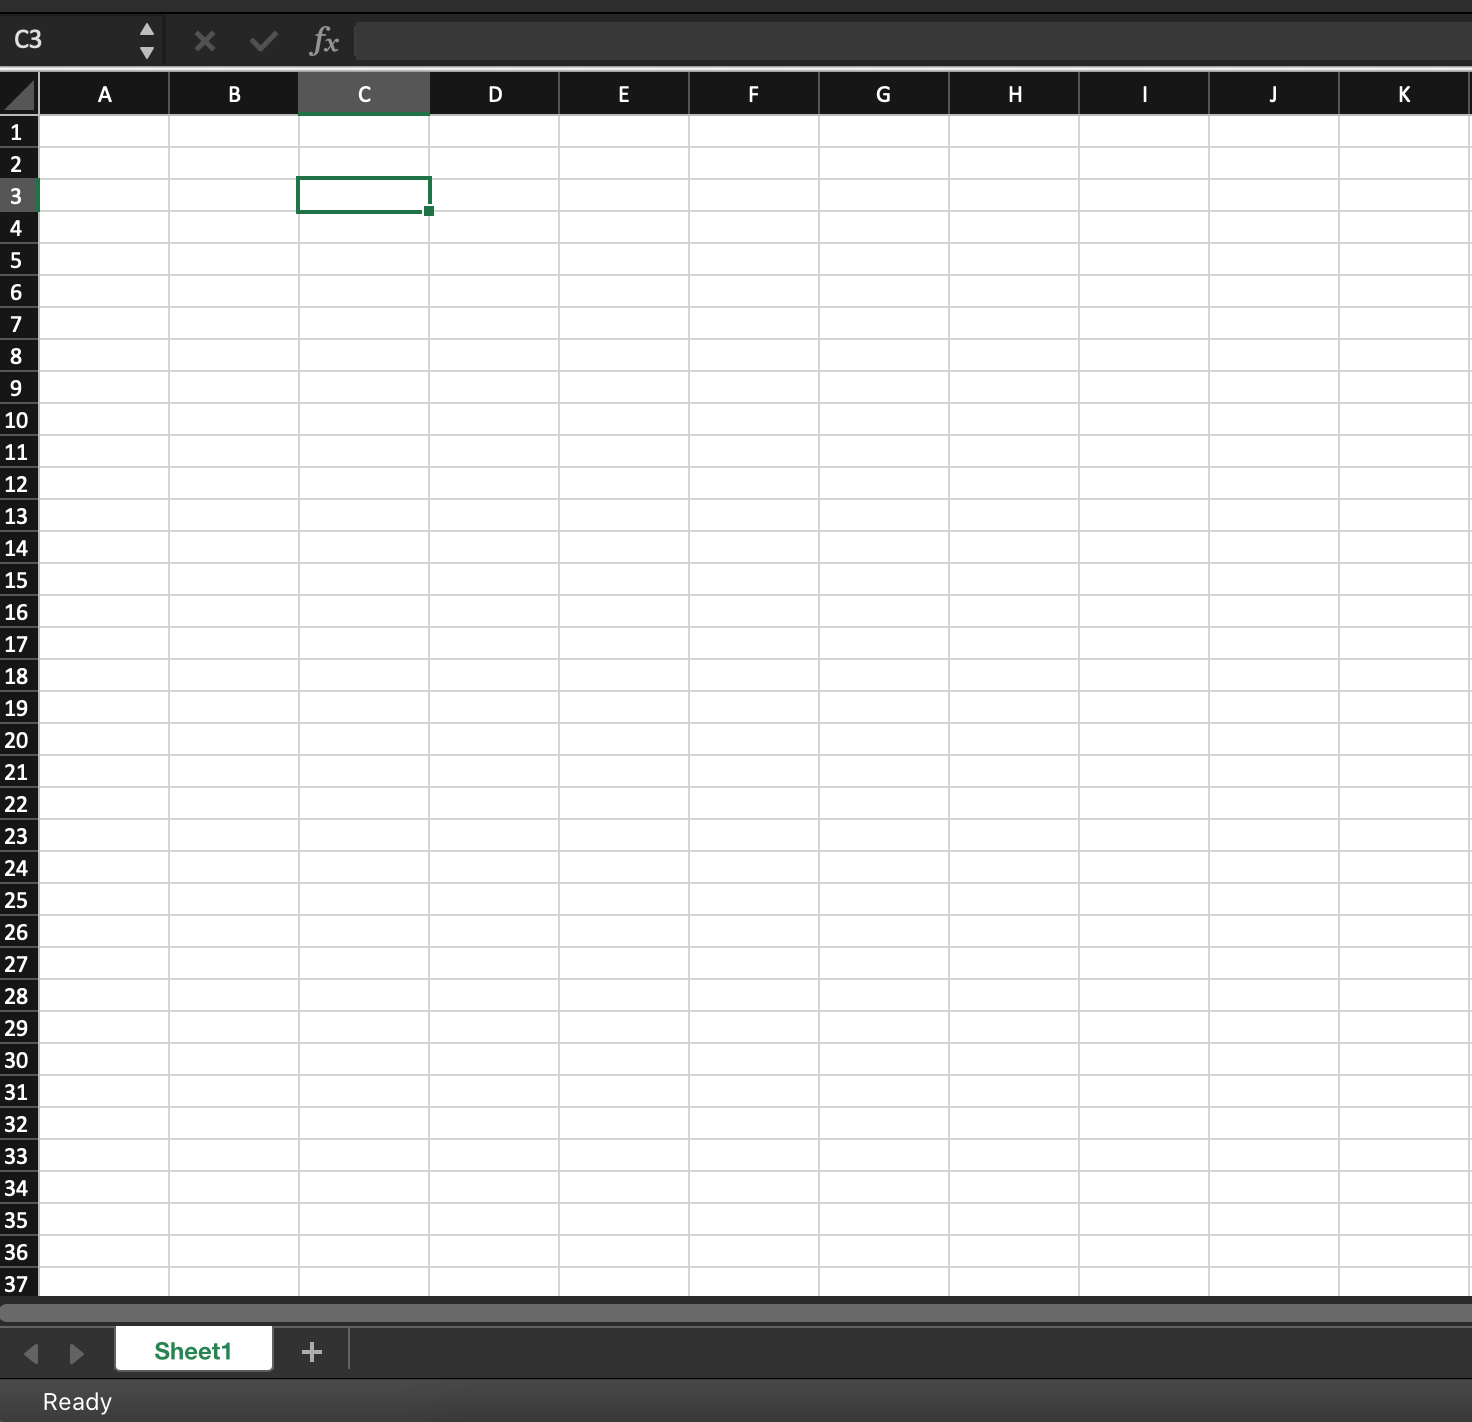
For example, below the selected cell is C3. It has a column header C and a row number 3.
We can also select an entire row or column from a cell.
To select the whole row when in any cell, press Shift Space .
To select the whole column when in any cell, press Ctrl Space .
Conclusion
Now you know the definitions of rows and columns in Excel. You’ve learned their main differences and how they work.
In summary, information in a row is presented horizontally, whereas in a column information is vertical.
Working with rows, columns, and cells
In Excel, each worksheet is organized into a grid of rows , columns , and cells . Individual cells can also be grouped into ranges , which are just series of cells strung together. These items interact with each other to form the basic layout of an Excel document.
Cell addresses
Take a look at the below diagram, which shows rows, columns, cells, and ranges all in one place:
As you can see, Excel labels columns by letter. You can see column labels highlighted along the top of the screen: A , B , C , etc. Rows are highlighted along the side of the screen, and are organized by number: 1 , 2 , 3 , etc.
At the intersection of each row and column is a cell , which is just one of the boxes on the grid of a worksheet. Each cell has a unique address , obtained by comining the column letter and the row number of the given cell. For example, cell B4 lies at the intersection of column B and row 4 .
Whenever you select a cell, you’ll see its address appear in the cell address box directly above the labels columns A and B . You can also type a cell name into this box and press Enter to automatically zoom to a given cell.
Cell ranges
Multiple cells can be grouped into ranges , which are adjacent series of cells. Take, for example, the following screenshot:
In this worksheet, we’ve highlighted the range of all cells between C3 and C6 . When we want to talk about a range like this, we do so by using the colon ( : ) character between the first and last cells in the range, like so: C3:C6 . This notation means «the range of all cells between C3 and C6 «.
We can also talk about ranges that span multiple rows and columns, like B2:E7 below:
Manipulating rows and columns
There are many things you can do to manipulate a row or column; but before you can do to, you must select it.
To select a single row or column, click the label of that row or column at the left or top of the screen:
To select multiple rows or columns, click the label of one row or column and keep the mouse button held down, then drag over to select multiple:
To select all rows and all columns in a worksheet, click the small box that appears at the intersection of row 1 and column A :
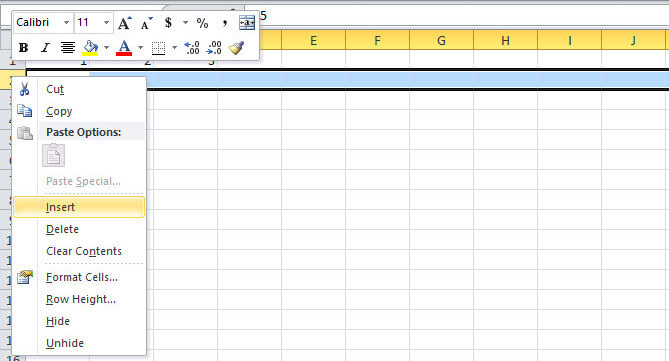
Once you have rows or columns selected, right click their labels to bring up the row / column manipulation menu , which appears in the screenshot below.
This menu has a variety of functions, and will allow you to do any of the following:
- Cut / copy / paste rows or columns. Use this if you would like to duplicate rows or columns, or if you would like to rearrange their order.
- Insert new rows or columns. This will insert new rows above — or new columns to the left of — the row or column you have selected.
- Delete rows or columns. This will delete the rows or columns in question entirely and collapse the remainder of the sheet in to take the place of the removed row or column.
- Format rows or columns. Use this option to apply formatting to each cell within a row or column. Potential formatting options include text colors, background colors, and borders.
- Hide and unhide rows or columns. Use this option to temporarily hide or unhide rows or columns. This makes it easier to manage large spreadsheets by hiding non-critical data.
You can also resize a row or column by hovering your mouse over the divider between two rows or two columns, then clicking and dragging to expand or contract it.
Manipulating cells
Cells can be manipulated just like rows and columns. To do so, select a cell or range, then right click. The cell manipulation menu will appear.
This menu allows you to:
- Cut / copy / paste cells. Use this to duplicate cells from one place in your worksheet to another.
- Insert new cells. Note that when you insert a cell, you’ll have to tell Excel how to do it (you must either shift rows or columns in the existing sheet to accomodate the new cell).
- Delete cells. Like insertion, deletion also causes a shift in your sheet. Excel will ask you where you want cells to shift when you delete a cell.
- Format cells. Use this option to apply formatting to each cell. Potential formatting options include text colors, background colors, and borders.
Those are the basics of row, column, and cell manipulation in Excel. There’s much more to learn — we’ve only scratched the surface! — but you should now have a solid foundation on which to build. Questions or comments? Let us know below!
Explore the 5 must-learn ‘fundamentals’ of Excel
Getting started with Excel is easy. Sign up for our 5-day mini-course to receive easy-to-follow lessons on using basic spreadsheets.
- The basics of rows, columns, and cells.
- How to sort and filter data like a pro.
- Plus, we’ll reveal why formulas and cell references are so important and how to use them.
Columns and Rows To Create Cell in Microsoft Excel
In this tutorial, learn what is columns and rows that make a cell in Microsoft Excel. You will also learn to add new rows and columns. After the addition, if you like to delete them, you can follow the rule given in this tutorial.
Columns and rows are the main building blocks of Excel. If you want to create data in Microsoft Excel, you have to learn about the rows and columns first.
So, let’s start learning them with the tutorial given below.
Table of Contents
Columns in Microsoft Excel
Columns are the vertical downward placed in the excel sheet. If you check the columns at the top from where it originates. You can find that they are arranged in alphabetical order from A to XFD. The alphabets are capitalized and placed in a sequential manner.
Check the below image showing the columns in the excel sheet. The column starts from the alphabet letter A.
After the column alphabet reaches Z, it starts again from A followed A to Z again. The last column of the excel sheet is XFD.
Rows in Microsoft Excel
Rows are placed towards horizontally in the sheet of excel. If you check the rows to the left side of the sheet from where it originates. You can identify it from the numbers arranged in a sequence from 1 to 1048576.
See the image given above showing the starting rows of a new sheet in excel. The rows are starts from numeric 1 in the sheet.
The cell is a Combination of Columns and Rows in Excel
A cell is the intersection of rows and columns in an excel sheet. You can use the cells in Microsoft Excel to place your data for manipulation. The data can be anything you want to organize in the tabular form.
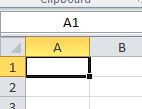
The below image showing the cell which is the combination of column A and row 1. If you want to identify the cell, you can say that it is an A1 cell of the excel sheet.
You can place data in any cell of the Microsoft Excel sheet. If you want to place data in a single cell, you can put any number of data in the single cell as per requirement.
In the Microsft Excel sheet, there are numerous cells.
Insert New Column to the Left in Microsoft Excel
While entering data in the excel sheet, you may require to insert an additional column inside the tabular data. Well, you can insert as many columns as you want.
To add a new column in the excel sheet, you have to go to the column where you want to add a new column to the left side. A new column will be inserted only to the left side of the required column.
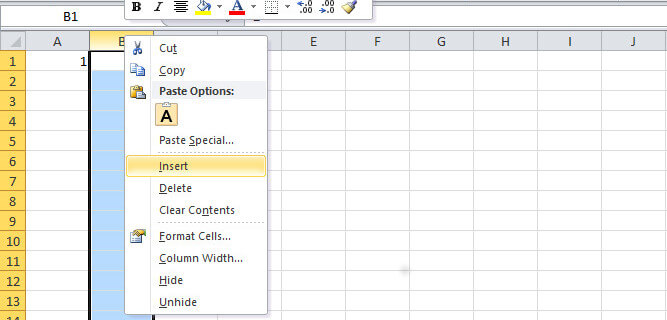
See the image given above, showing the menu options when right clicks the mouse on the column. Select the “insert” option given on the menu list. This will add a new column to the left side of the selected column.
If you want to learn more methods to add new column in Excel sheet, you have to read our post on how to insert new columns in Excel.
Add New Row to the Top in Microsoft Excel
In addition to the above, you can also add a new row to the excel sheet on your tabular data. You can add the row to the top of the selected row.
You have to go to the row where you want to add the new row to the top. Now, click the right button of your mouse to see the menu as given below.
Select the “insert” option given on the menu. This will add a new row to the top of the selected row in the excel sheet.
If you want to learn more methods to add new row in Excel sheet, you have to read our post on how to add new row in Excel.
Delete Existing Rows and Columns in MS Excel
In addition to above all methods of adding rows and columns in the Microsoft Excel sheet. You can also delete the unwanted row or columns from the excel sheet.
To delete the row or cell, you have to open the same menu as you have opened in the above section. now, click the “delete” option given on the menu. This will remove the unwanted selected rows or columns from the excel sheet.
If you want to learn more methods to delete selected row in excel. You can check our post based on How To Delete Selected Rows In Excel Using Keyboard.

